고정 헤더 영역
상세 컨텐츠
본문
728x90
반응형
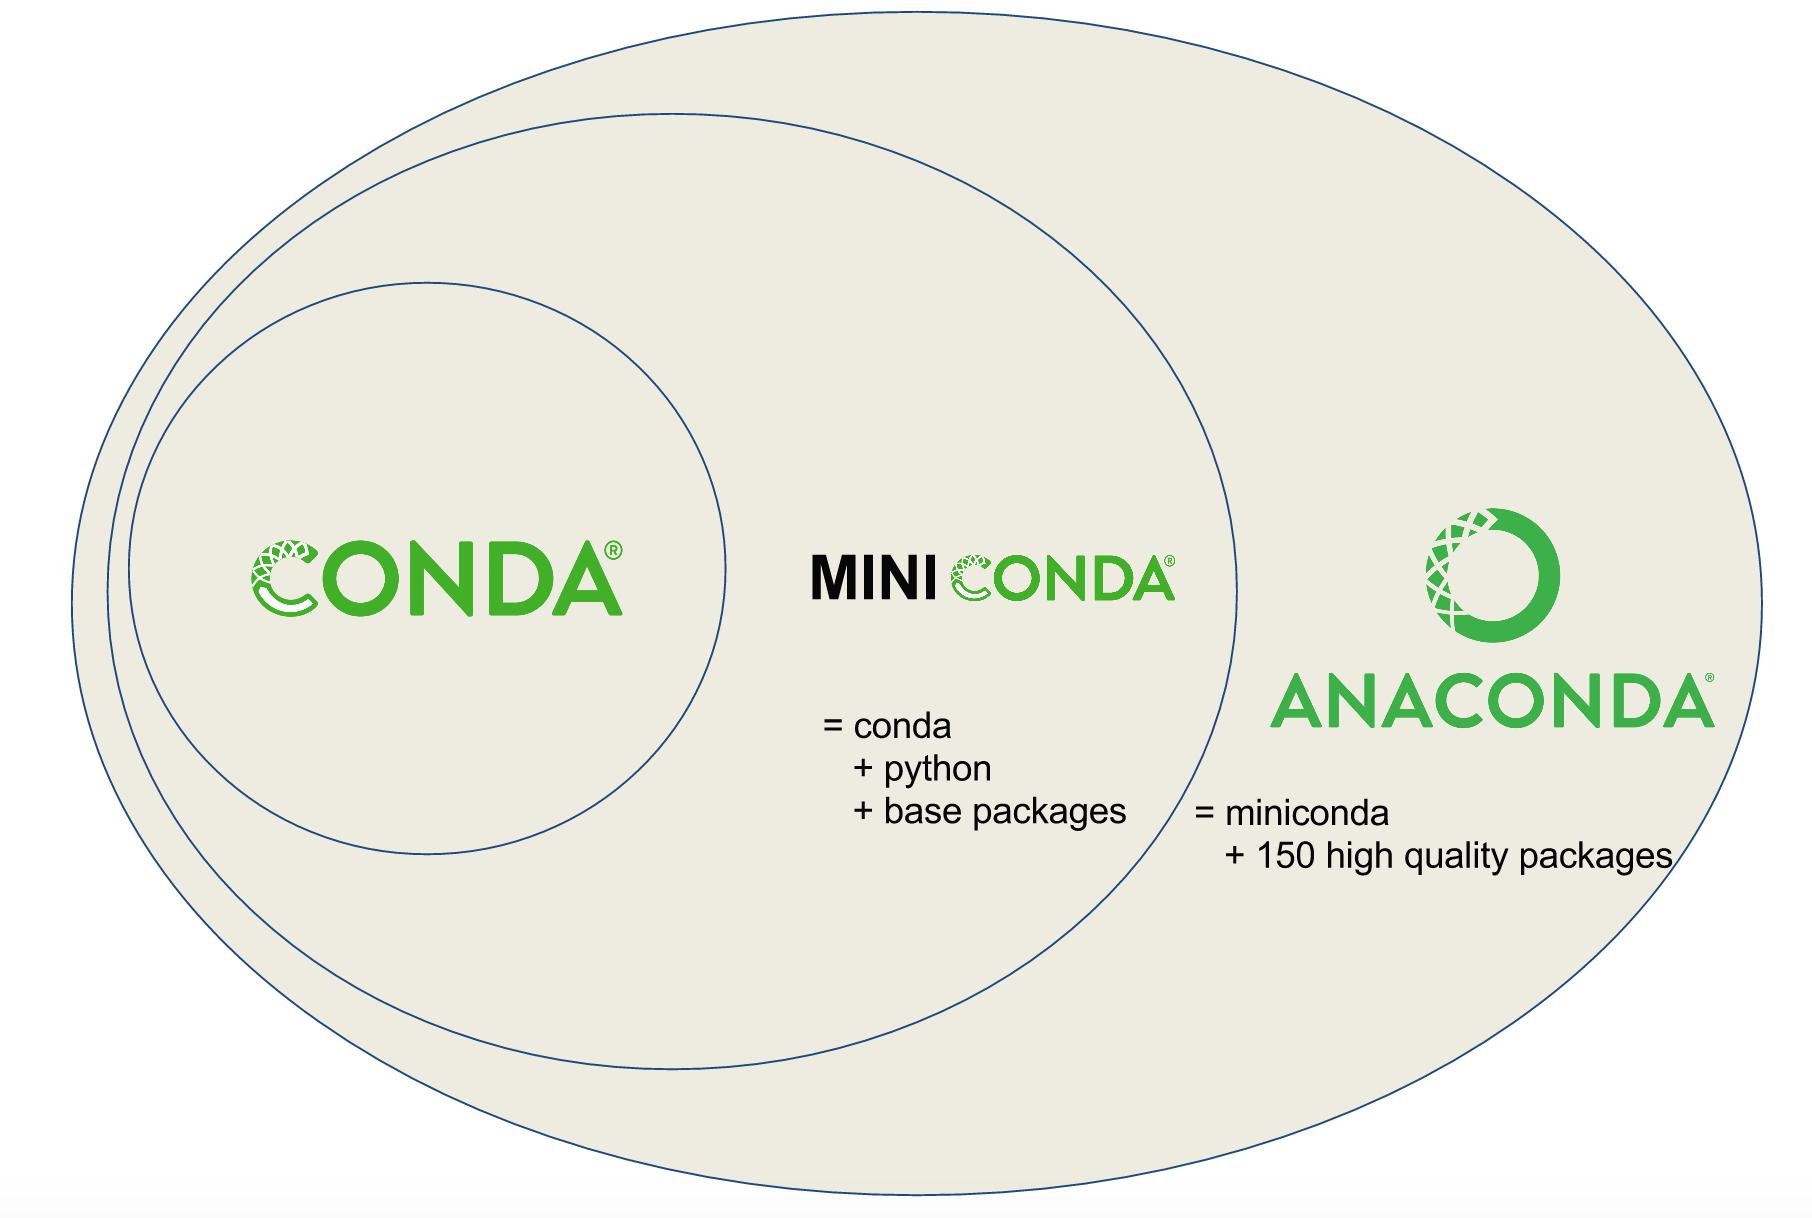
Anaconda 가 무료에서 유료로 전환되면서 대체안으로 MiniConda를 사용한다는 것을 알 게 되었다. 미니콘다는 추가적인 패키지는 직접 설치해야 하는 것으로 보이며 시스템 요구 사항은 아래와 같다.
System requirements
- License: Free use and redistribution under the terms of the EULA for Miniconda.
- Operating system: Windows 8 or newer, 64-bit macOS 10.13+, or Linux, including Ubuntu, RedHat, CentOS 7+, and others.
- If your operating system is older than what is currently supported, you can find older versions of the Miniconda installers in our archive that might work for you.
- System architecture: Windows- 64-bit x86, 32-bit x86; macOS- 64-bit x86 & Apple M1 (ARM64); Linux- 64-bit x86, 64-bit aarch64 (AWS Graviton2 / ARM64), 64-bit IBM Power8/Power9, s390x (Linux on IBM Z & LinuxONE).
- The linux-aarch64 Miniconda installer requires glibc >=2.26 and thus will not work with CentOS 7, Ubuntu 16.04, or Debian 9 (“stretch”).
- Minimum 400 MB disk space to download and install.
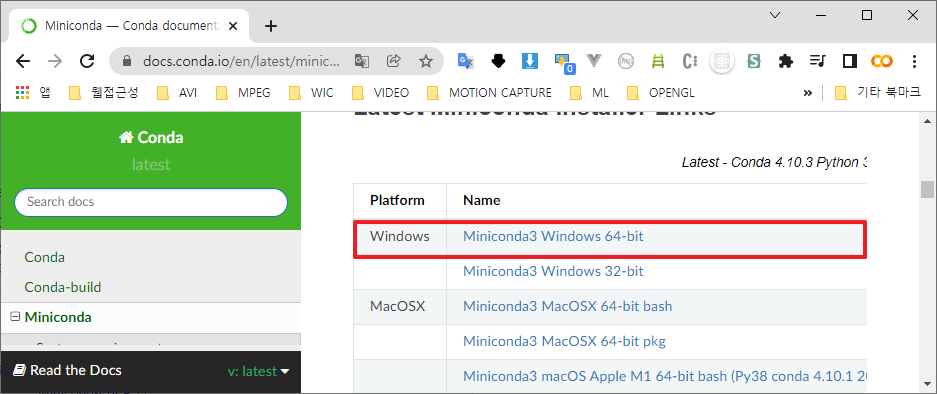
https://docs.conda.io/en/latest/miniconda.html 접속하여 Windows Platform 현재 컴퓨터에 맞는 설치 파일을 다운로드한다.
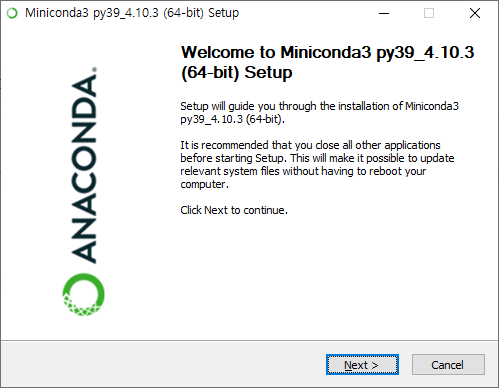
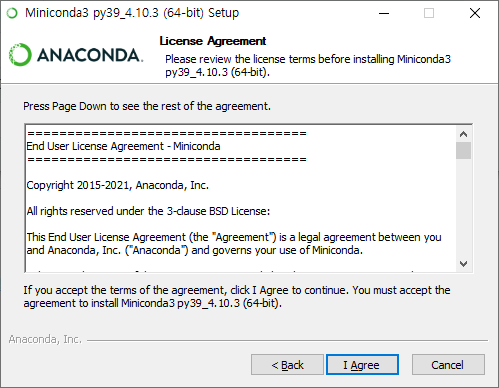
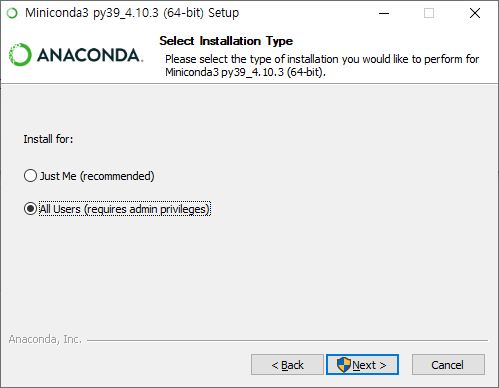
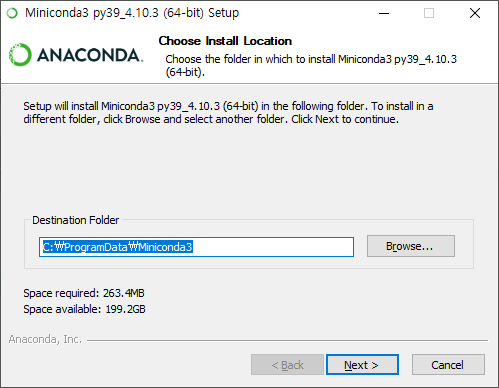
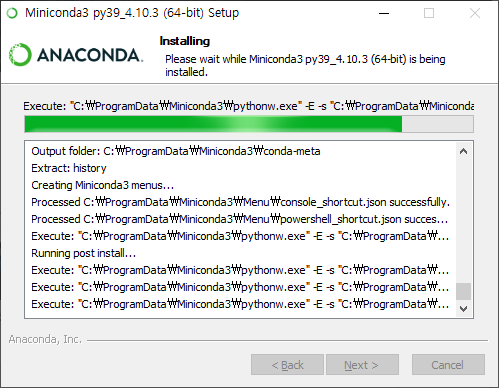
설치 과정이며 그대로 따라하면 된다.
모든 계정에 설치하기 위해서 All Users를 선택하였다. 개인 선택 취향임으로 각자 선택해도 무방하다.

Labelme Package 설치
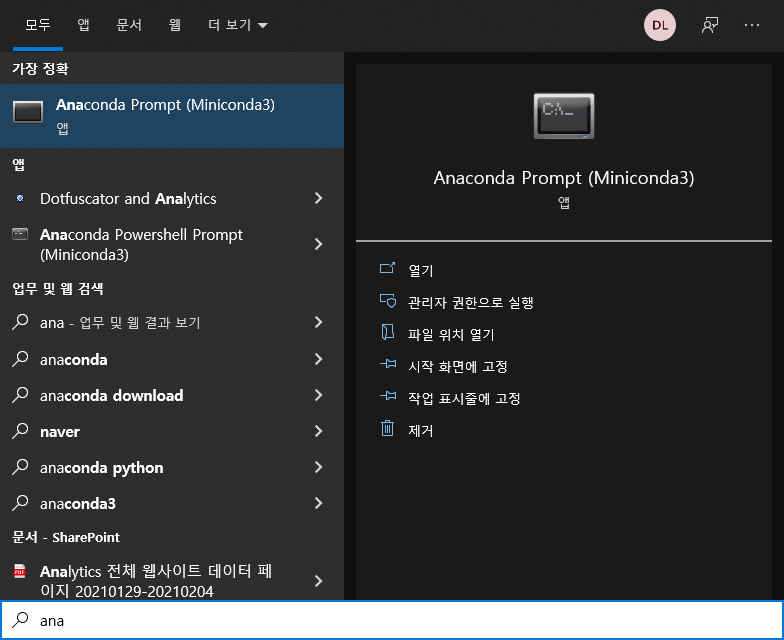
Miniconda3가 설치가 완료되면 Miniconda3 Prompt를 실행한다.
Labelme 설치를 위해서 아래와 같이 패키지를 설치 한다.
# python2
conda create --name=labelme python=2.7
source activate labelme
# conda install -c conda-forge pyside2
conda install pyqt
pip install labelme
# if you'd like to use the latest version. run below:
# pip install git+https://github.com/wkentaro/labelme.git

# python3
conda create --name=labelme python=3.6
source activate labelme
# conda install -c conda-forge pyside2
# conda install pyqt
# pip install pyqt5  # pyqt5 can be installed via pip on python3
pip install labelme
# or you can install everything by conda command
# conda install labelme -c conda-forge
Labelme 실행
Miniconda Prompt에서 labelme를 입력한다

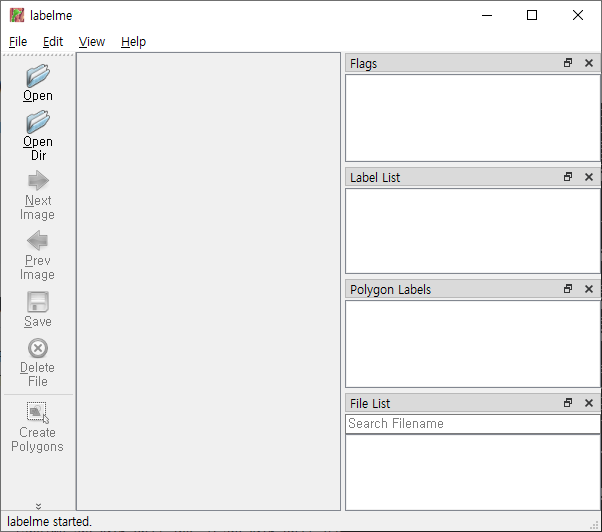
Labelme를 실행하면 아래와 같이 창이 열린다.
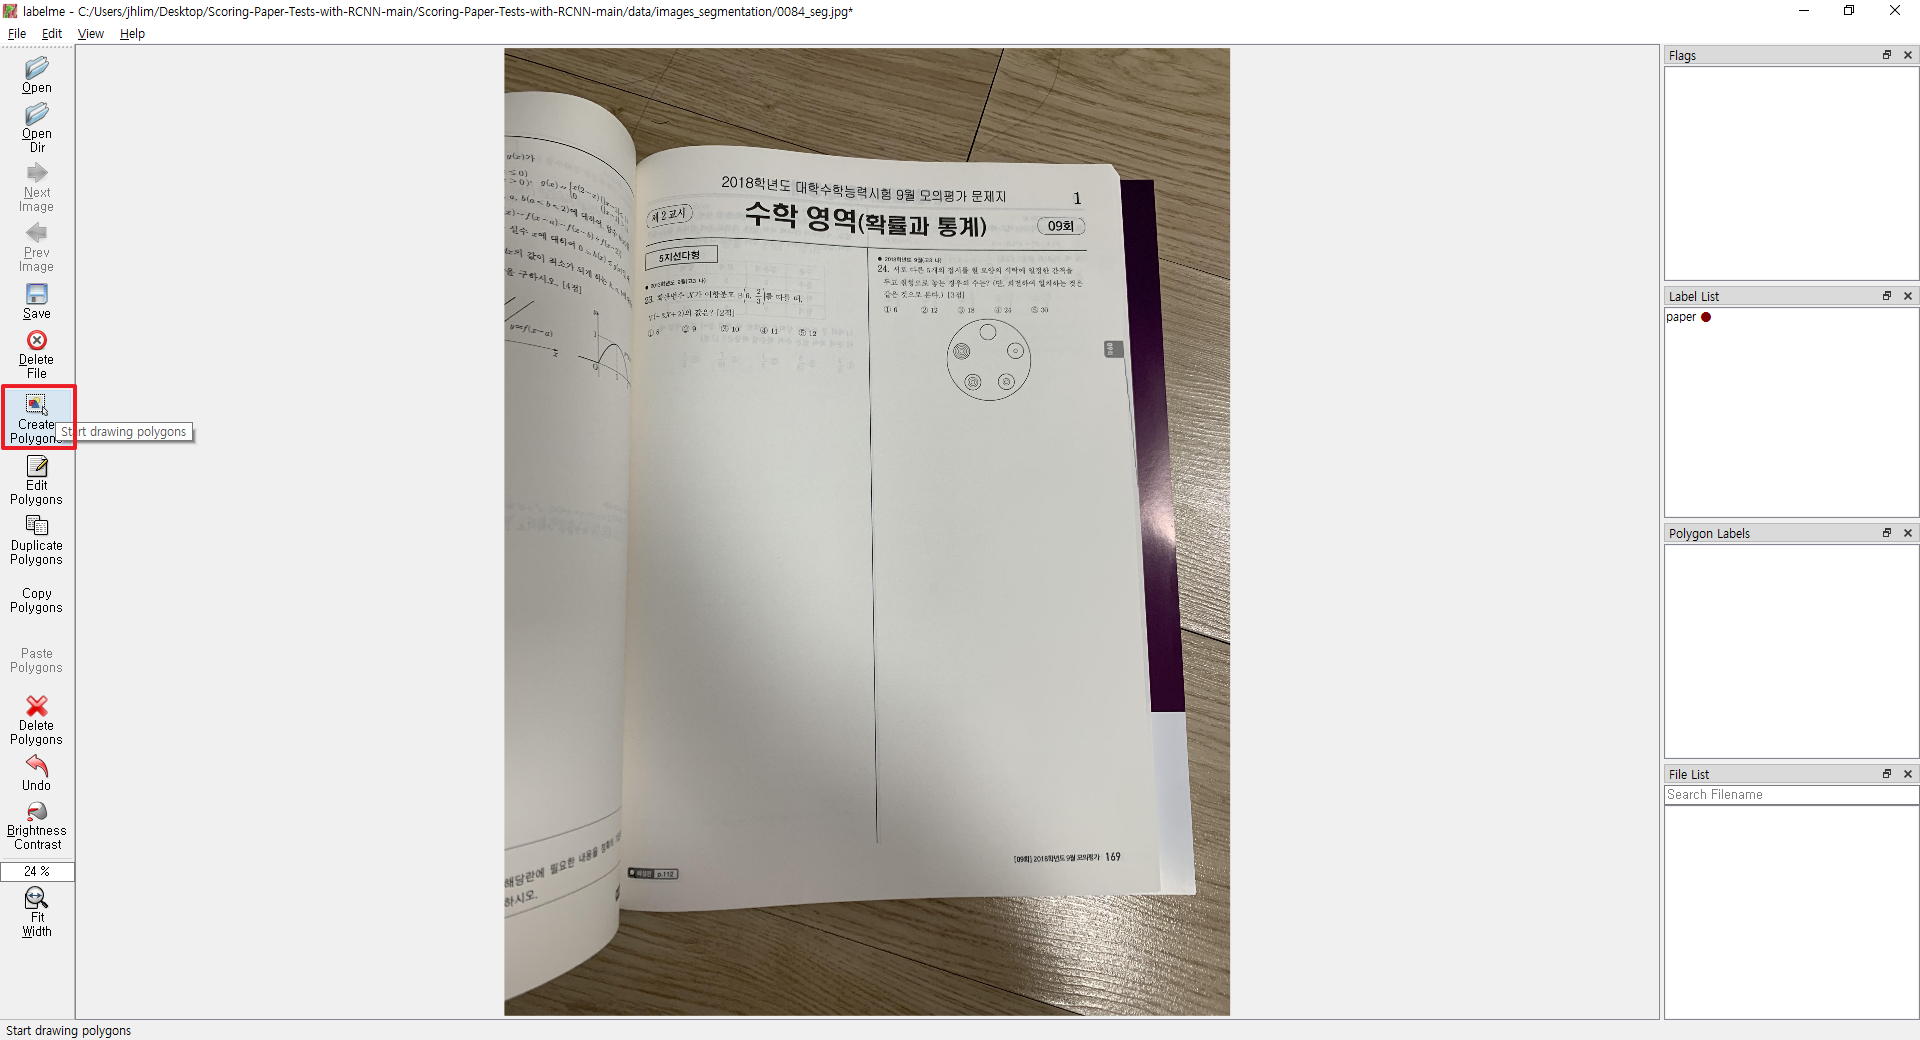
Annotation을 추가할 이미지를 선택하고 왼쪽 탭 메뉴의 Create Polygons를 버튼을 클릭한다.
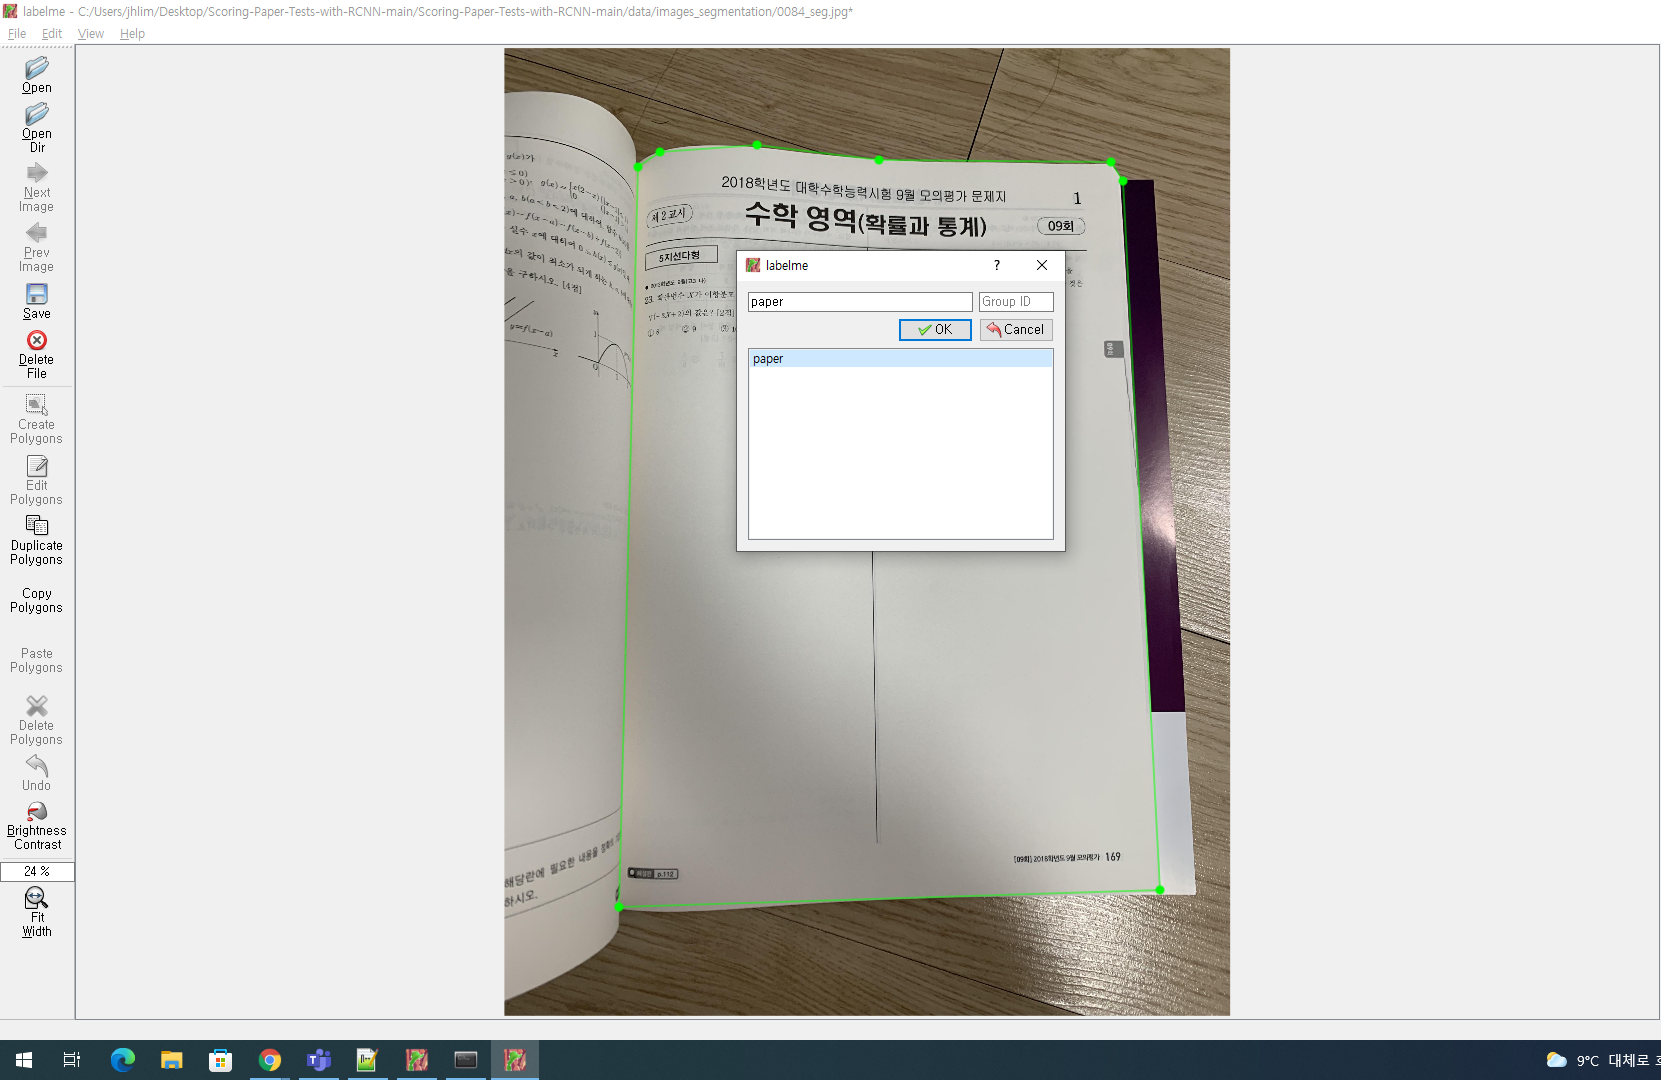
이미지를 분리할 부분을 선택하고 아래와 같이 모두 이어지면 label을 기입할 수 있는 대화 상자가 나온다. label을 기록한다.
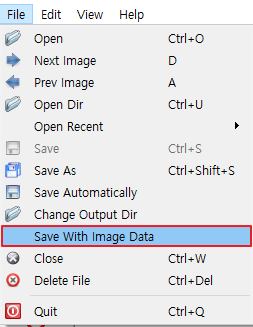
File - Save As 클릭하면 json 형태로 저장할 수 있다.
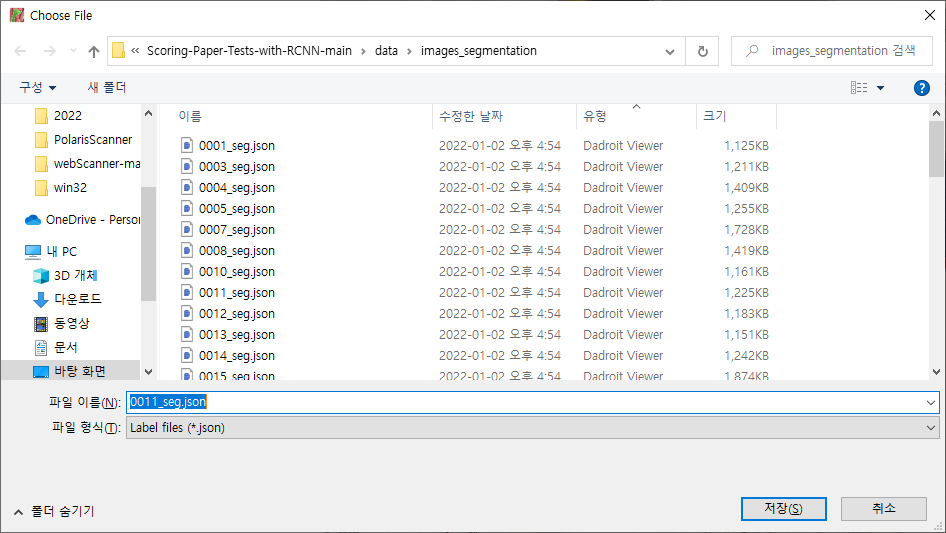
json으로 저장 시 Save With Image Data는 체크 해제하지 않으면 json 데이터상에 이미지 데이터가 포함된다. 용량이 매우 커지니 해제하는 걸 추천한다.
COCO 스타일로 변환하기
먼저 labelme2coco git을 clone 한다.
git clone http://github.com/Tony607/labelme2coco.git
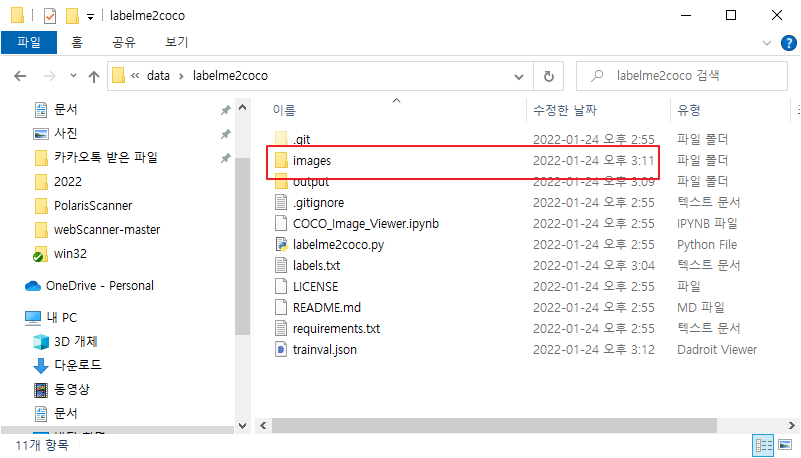
clone 후 초기 폴더를 보면 images 폴더가 하나 있다. 안에 있는 모든 파일을 삭제하고 labelme에서 작업한 파일을 모두 복사한다.
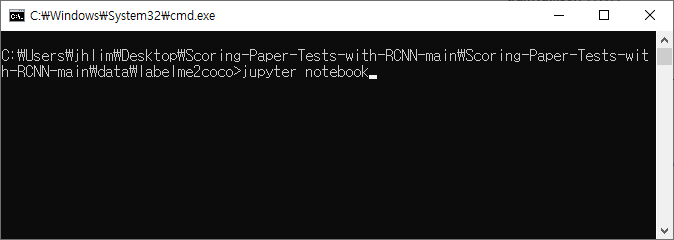
명령 프롬프트에서 python label2coco.py images를 입력한다. 이때 images는 labelme에서 주석을 추가한 파일들이 있는 경로이다.
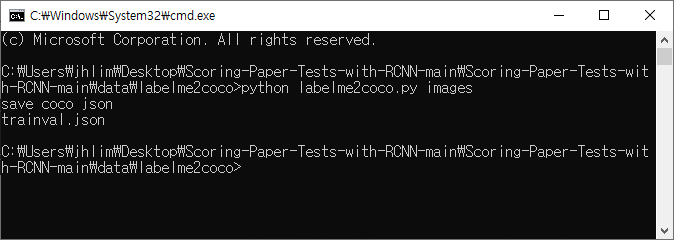
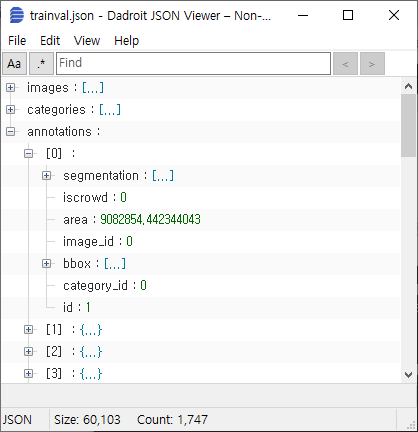
labelme로 주석을 단 파일들을 coco 스타일 변화하여 trainval.json 파일을 만들 수 있다.
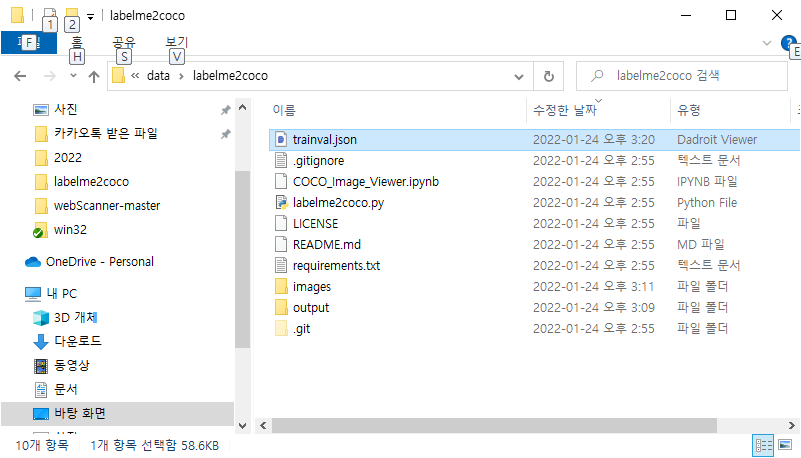
trainval.json 파일은 아래와 같은 구조를 갖는다.
주피터 노트북으로 레이블 결과 확인하기
labelme에서 추가한 주석을 coco style로 변환한 데이터가 잘 변환 됐는지 확인하기 위해 명령 프롬프트 창에서 jupyter notebook을 실행한다.
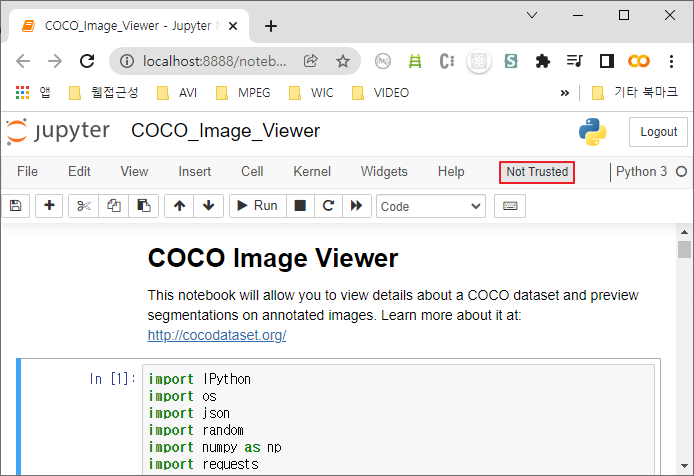
최초 실행 시 Not Trusted라고 나오는데 해당 버튼을 눌러 Trusted로 변경한다.
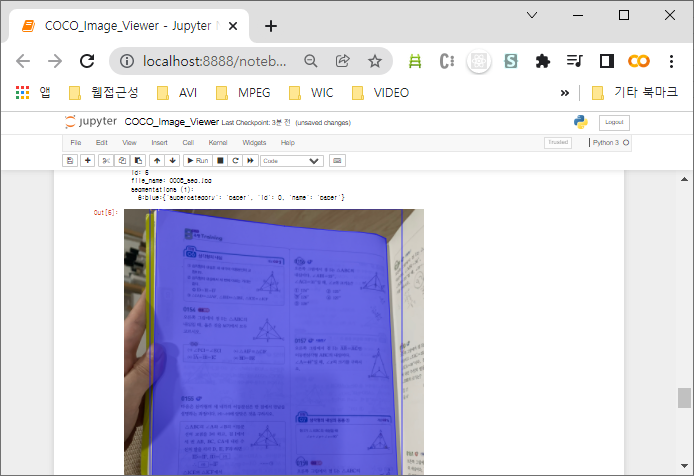
Shift + Enter를 누르면서 코드를 실행한다. Labelme에서 만든 주석과 비교해 본다.
여기까지가 Windows에서 MiniConda를 설치하고 Labelme를 사용하는 방법까지 정리해 보았다. MiniConda 를 설치하고 Labelme 를 실행해 보았다. 위에 설치 과정이 번거롭다면 포터블버전으로 다운로드하여서 사용해도 된다.
728x90
반응형
'AI > 개발도구' 카테고리의 다른 글
| 포켓몬상 테스트 PWA 배포 도전기!! - 종료 (0) | 2022.07.25 |
|---|---|
| PIPREQS - 특정 프로젝트에 있는 파이썬 패키지만 requirements.txt 로 만들기 (0) | 2022.04.12 |
| ImportError libGL.so.1 cannot open shared object file No such file or directory STREAMLIT (0) | 2022.04.12 |
| 케라스(Keras), KeyError: 'acc' (0) | 2022.03.16 |
| Visual Studio Code 에서 Jupyter Notebook 사용하기 (0) | 2022.01.10 |


댓글 영역